
Pre-Authentication
Before launching your first session, you must have:- Created an account via the Sign Up screens (name and phone number validation).
- Validated your number with the 6-digit OTP received by SMS (auto-advance input).
- Set up a payment method in the wallet (see Payment).
In Mock Mode, any 6-digit OTP code is accepted. This is useful for testing the flow without depending on an SMS provider.
Launch a Session
1
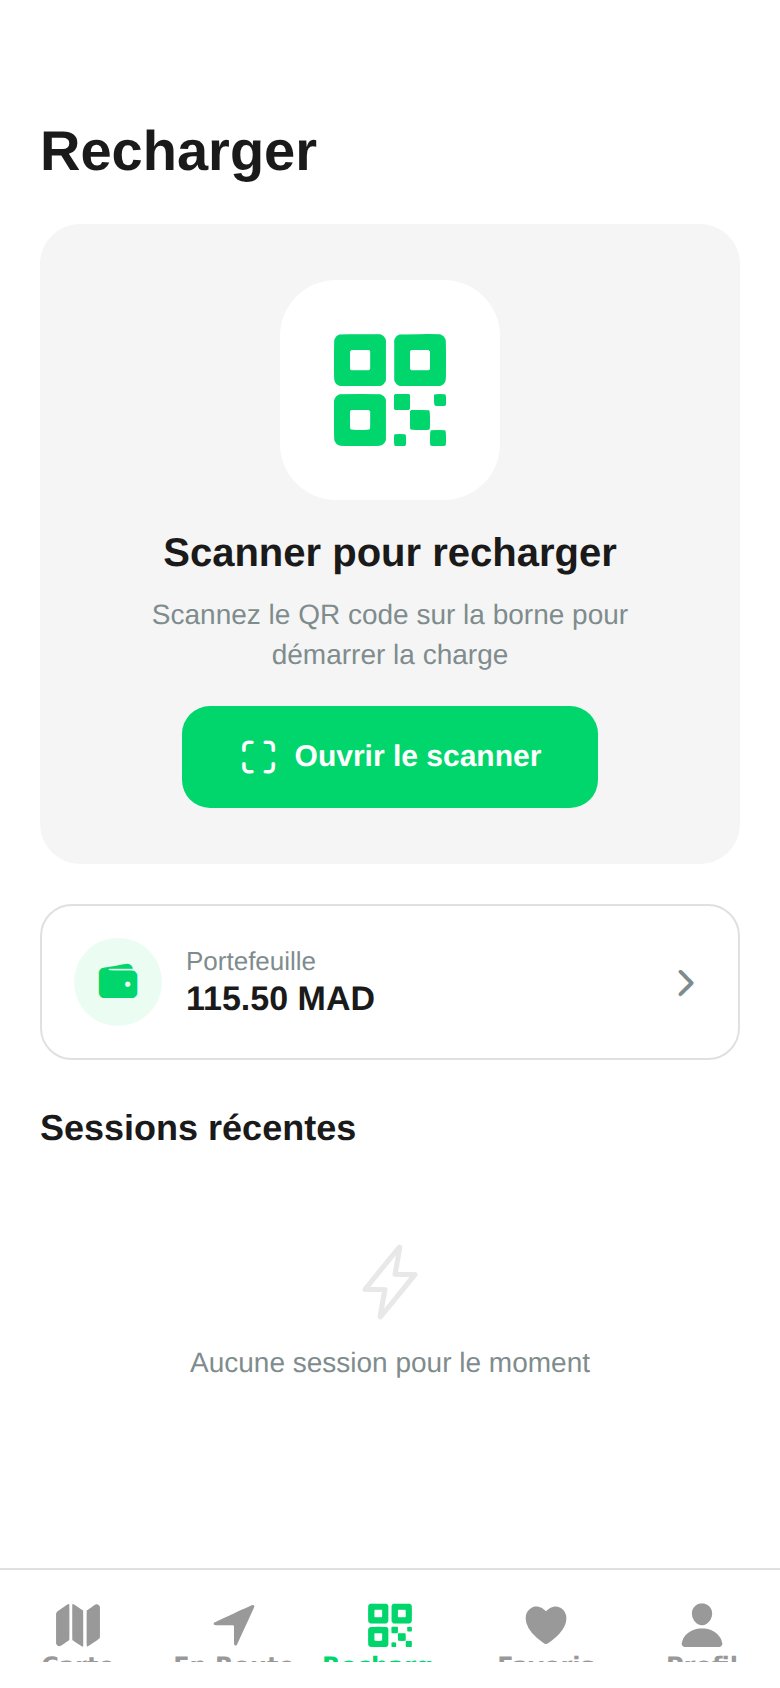
Open the Charge hub
Tap the Charge tab at the bottom of the screen. This is the app’s QR hub.
2
Scan the QR code
The app opens the camera via
expo-camera. Point it at the QR code displayed on the station to trigger the session.3
Confirm and plug in
Verify the pricing and connector shown on screen, confirm, and plug in your vehicle.
Session Tracking
Once the session is launched, the app displays in real time:- The instantaneous power (43 kW by default in Mock Mode)
- The energy delivered in kWh
- The elapsed time since the start
- The cumulative cost in dirhams
Connector commands rely on the OCPP protocol. In Mock Mode, values are simulated and updated every second. Once
EXPO_PUBLIC_MOCK_MODE=false, the app sends real commands to the backend via OCPP_BACKEND_URL.